While installing other cabinet locks requires drilling and the use of a screwdriver, installing Safety 1st cabinet locks is fast! It comes with adhesive and magnetic properties that allow a convenient no-drill installation.
Safety 1st locks are the best cabinet locks for safety that I have ever seen. They are uniquely designed to help prevent curious children from gaining access to dangerous products.
Here is a step-by-step guide on how to install safety first cabinet locks in less than 2 minutes!
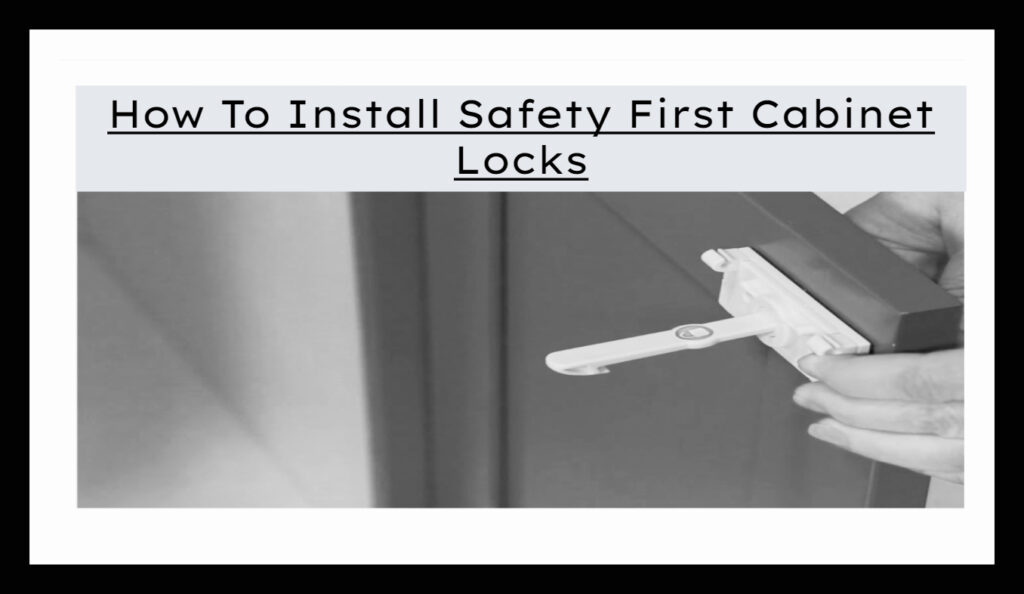
How to Install Safety First Cabinet Locks
Safety 1st locks offer fast installation. It does not require drilling! The surface comes with magnetic and adhesive systems that allow a simple stick on your cabinet doors.
Safety 1st locks also come in two different colors: white and almond. So you can match the color of your cabinets!
Step-by-step Installation Guide
To install safety first cabinet locks in less than 2 minutes, do the following steps:
Step 1: Clean cabinet door surfaces
To prevent any dust from getting stuck on the surface, clean both sides of the cabinet doors. Use a microfiber cloth or a damp towel to wipe away all dirt and grease.
Step 2: Remove adhesive sheet from the pad
Remove the adhesive sheets from the side of the safety-lock pad. The peel-off is simple and does not leave any grease or residue.
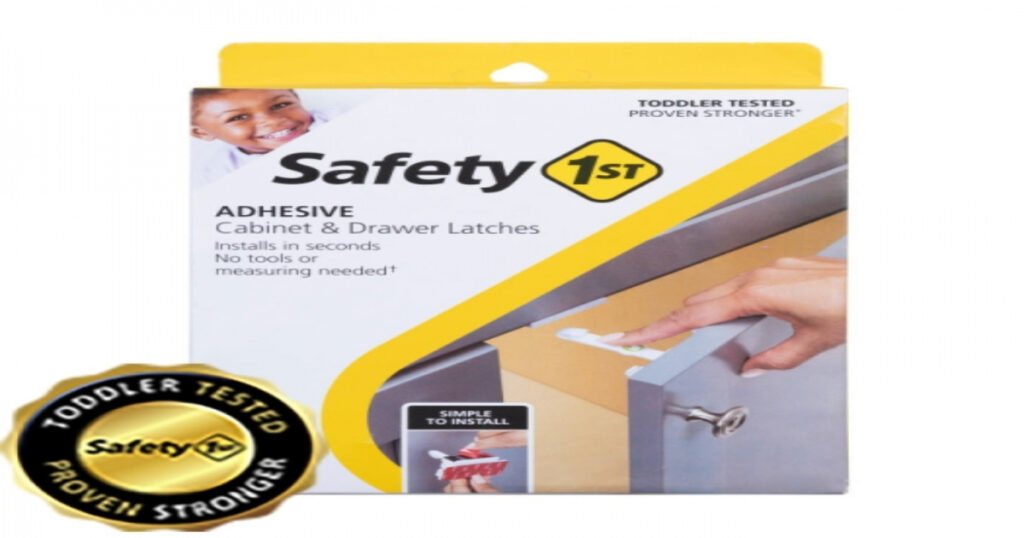
Step 3: Test Whether it Works
To test whether the lock is functional, you should push the button to show the SecureTech lock/unlock green light.
Step 4: Install Catch and Yellow Template
Always ensure that you press firmly to ensure that the catch adheres properly. You may leave it for 5 minutes to let it stick well (optional).
Step 6: Align the Lock
Using the yellow template, you can align the lock and stick it to the door. After the lock sticks, remove the yellow template and allow it to stay 24 hours to gain strength.
Check our article on Childproof Door Levers
Step 7: Activate Lock
Whenever you want to activate the lock, you should set the lock to green lock lighting. Test to be sure that it is locked. You can also deactivate it by setting the lock/unlock icon to red.
Step 8: Use the Key to Unlock
Whenever you want to unlock your cabinet, you can use the key that comes together with the lock.
Installing a Lock on a Drawer (Using Screwdriver)
What You Need
- Cabinet locks
- An ordinary flathead screwdriver
Steps To Follow
Step 1
First, identify the cabinets you want to lock and then turn that baby into an “X”. You should ensure that all high-security cabinets are safe from unauthorized access.
You will notice that these locks are designed with a slot at the end of the screws, which makes it easy for you to drill them in when you turn it 90 degrees to the left.
Step 2
When you’ve successfully turned the screws 90 degrees, continue by putting them in through your cabinet and then tighten it with a screwdriver so that they hold in place.
At this point, the lock is not yet operational.
So proceed with step 3 if you would like for them to be functional right away. If you would rather use the “install and test” method, skip down to step 5.
Step 3
Now that your screws are on the inside of the cabinets, insert the included Allen key into one of them and turn it counterclockwise until you hear a clicking sound.
When you’ve done this for both screws, the lock is now functional and you can test it by opening and closing your drawers.
Step 4
If, however, you want to make sure that these locks are installed correctly right from the get-go, repeat step 1 with the second screwdriver. After all of this is completed, turn one of them counterclockwise until you hear a clicking sound.
Finally, turn the other screw clockwise until you hear another click and you’re good to go!
Step 5
When you’re all done, close the cabinet and make sure that it’s sealed tightly.
You will know if it’s working correctly whenever you open a locked drawer, as a clicking sound is heard when they are unlocked. If this does not happen, repeat step 2 on the other screw until you hear a click.
Congrats! You have successfully installed your safety first cabinet locks.
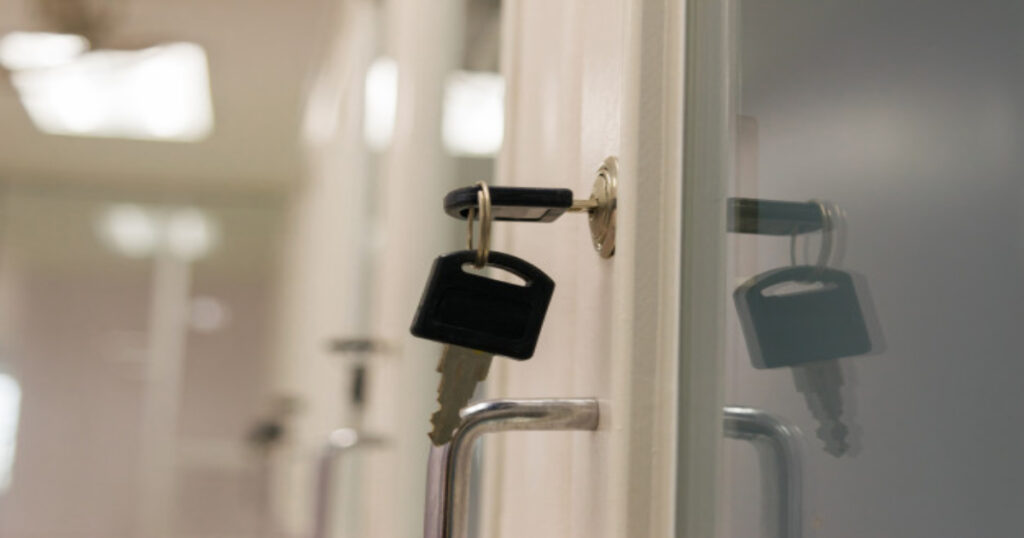
Why Safety 1st Cabinet Locks?
Safety 1st cabinet locks are so effective because they are designed with special features to ensure that children cannot open them no matter what.
These include:
- Auto-Locking Latch Pins: These pins go in by themselves whenever the cabinets are closed, keeping your drawers locked even during times of great force.
- Hidden Hinges: The hinges are concealed behind the cabinet, ensuring that they won’t be noticed by your children.
- Safety Cabinet Latches: These locks are equipped with a special safety mechanism to prevent them from being removed.
There is also an extra security feature of these cabinet locks which involves drilling holes through their bases so you can attach them to the cabinets using screws.
If you wish to attach them to a different surface, you can easily do so by following the included instructions.
How to Install a Magnetic Lock on a Cabinet – Bottom Line
Installing a latch drawer adhesive is straightforward. It is ideal for wardrobes with heavy drawers that can’t be easily locked using conventional locks.
Installing this lock is easy and the adhesive doesn’t damage or leave any residue on your drawer or cabinet. The adhesive, however, is only good for lighter cabinets since they are often opened by children who will pull them so hard it may cause the adhesive to detach.
Installation of this magnetic lock is comparable with installing a regular cabinet lock and can even be easily removed if necessary. It’s definitely worth the money since it does what you need at a very affordable price.
